
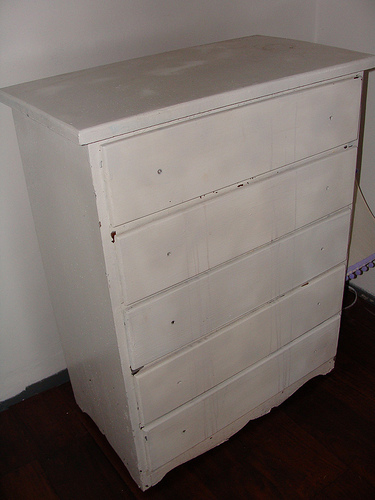
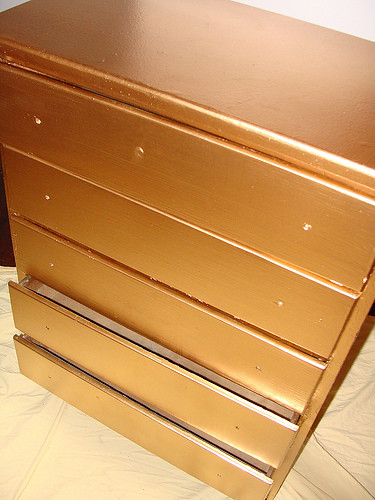
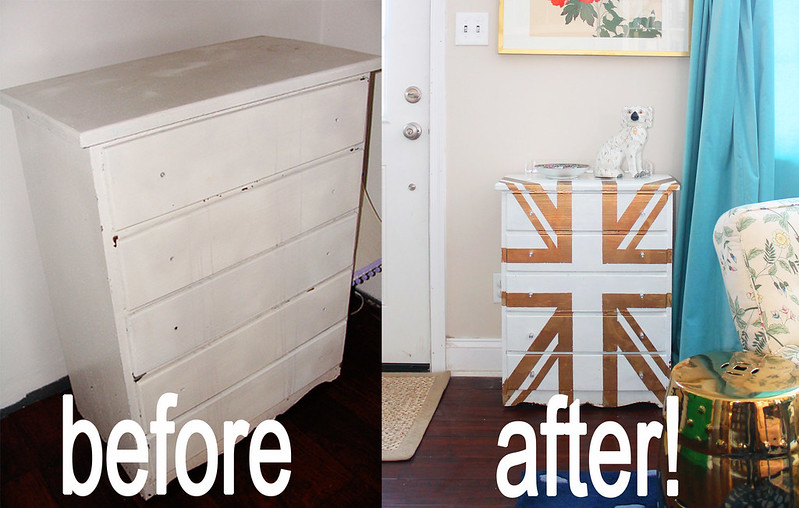
...naturally I spray painted the whole thing gold. I did two coats, in two different shades of gold (because it's all I had).
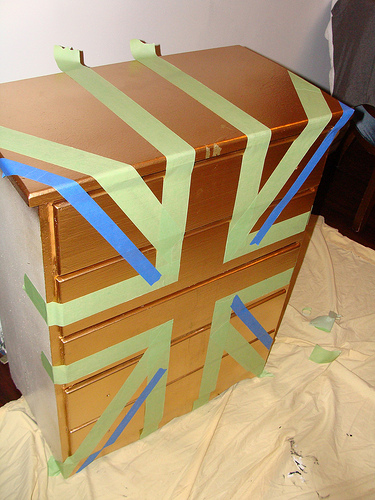
I taped the Union Jack free hand using 2 inch, and 1 inch painter's tape to give the "flag" a more authentic feel.
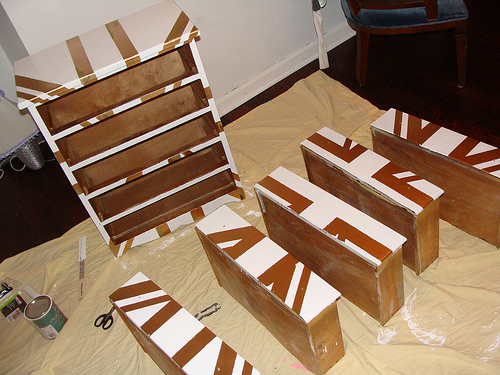
Once the whole thing was taped, I used an exacto knife to cut the tape around the drawers so I could paint them each separately while sticking to the Union Jack's lines.
Last, I painted over all the tape with a few coats of white paint, using a roller.
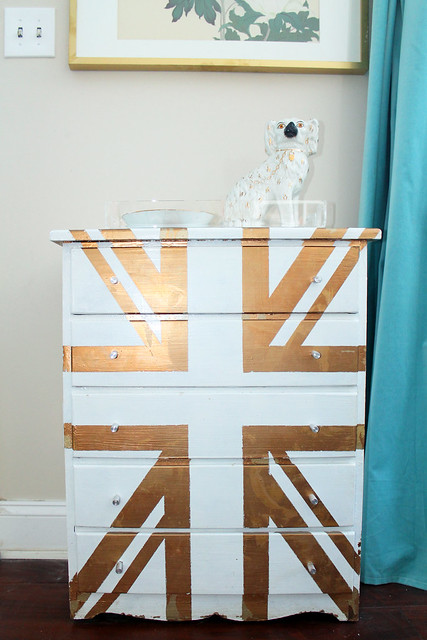
It was a happy accident that I peeled the tape off too early, because the lighter gold was able to peek through the top layer of gold. Rarely does being impatient work in my favor this way, but I'll take it.
It was a really fun project, and I thought appropriate to post about now because we just moved it next to our front door, so it feels brand new again. (Yay to shopping in your own home).
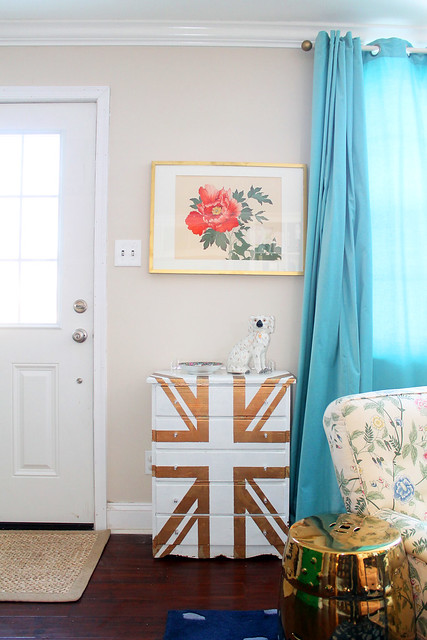
The knobs are from Ikea (they have similar styles here). I like these because they don't get in the way of the flag, but I can still open the drawers.
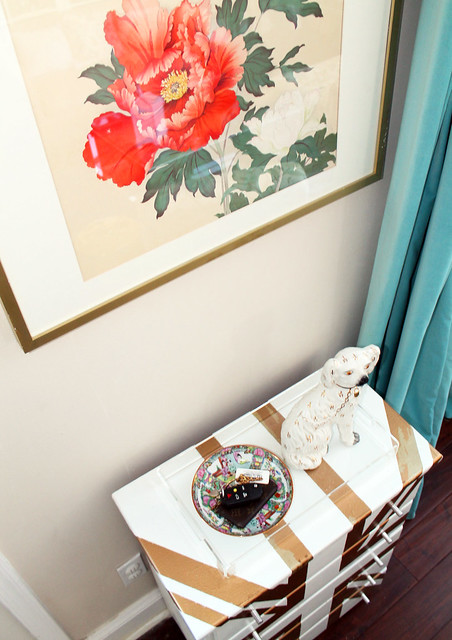
I change what's on top of the dresser pretty often. Currently there's a lucite tray from Home Goods, a Staffordshire dawg, and a little Chinese dish.
You can see where the first layer of gold is showing through the 2nd over on the right corner.
This is one of my favorite DIYs. So easy, and a great way to "rescue" furniture.
No comments:
Post a Comment