Our attic is 1,000 square feet of walkable space, and 1,800 square feet of ceiling, so it took about 4 weeks to complete the bare bones renovation (re-framing of the ceiling, new insulation, and drywall).
As you probably remember, here is the frightening before picture.

You weren't able to stand up in the space as it was, so we had our guys remove the supporting cross beam from the roof, and raise it as high as they were able (about 2 1/2 feet, giving us 7 feet of head room). We then added supports lower down (so the roof doesn't collapse), which double as storage.


We used regular insulation for the roof. We thought about spray foam insulation, but the ROI didn't kick in until 40 years from now... so we opted out. It's amazing how different out house feels with the new insulation. SO much warmer! We put in separate heating, and a separate electrical panel too.
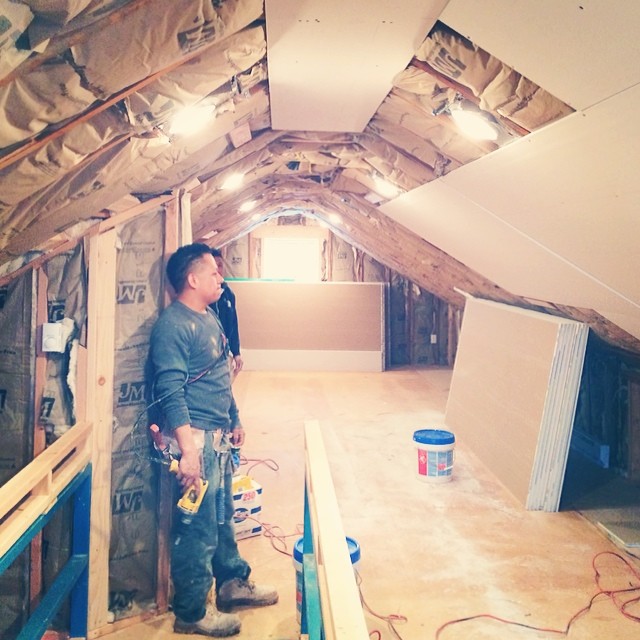
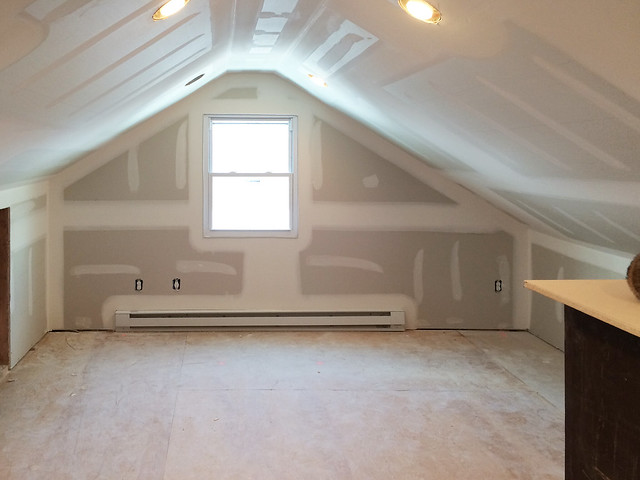
This is the 2nd floor today. I love how bright it is! The bed will go against that window eventually. And where I'm standing will be a play space/future bathroom.

This is where the bed will go. C'mon house guests!!
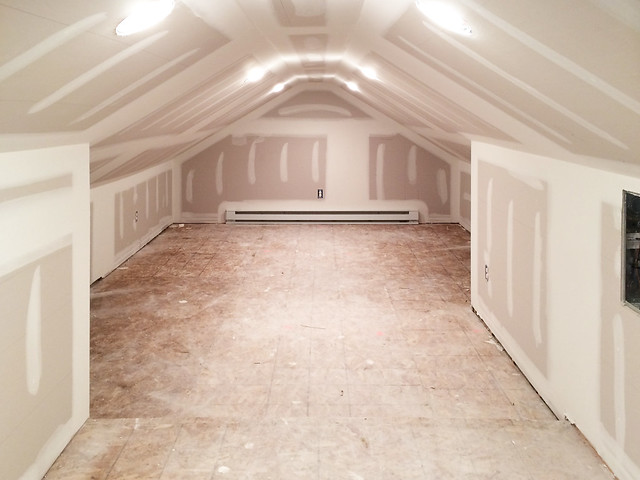
You know the coolest part about renovating this attic? Finding an extra 300 sq ft of walk in closet space. This area was so cluttered with crap that we deemed it unusable, but once they finished the framing we opted to add the lighting and the heat so we would use it as a huge closet.
We couldn't be luckier to have found this space, because people in the 1950's did NOT believe in closet space.
I'm thinking lots of DIY built ins along the walls from Ikea, some fabulous wallpaper, and a cozy rug.
In the spring we are adding skylights. They'll be above the bedroom area and look out onto our yard.
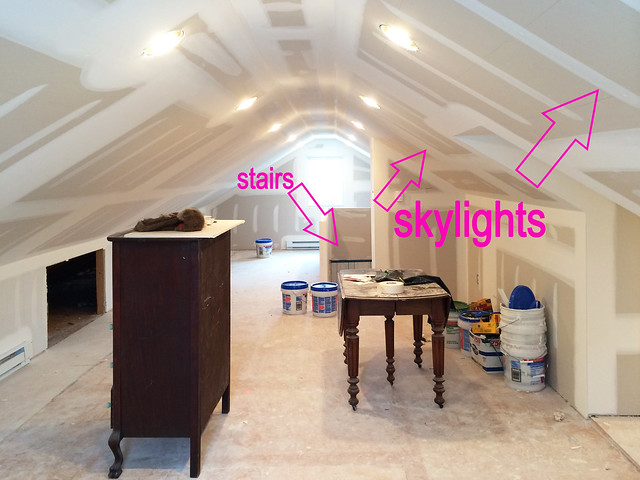
After Trevor ripped up all the horsehair and 3 inch shag carpeting (ew) off of the stairs, we realized they are in perfect condition. Nothing fancy. They are your standard, boring, builder grade stairs, but with a coat of white paint and a fab runner they'll do just fine.

Ok - That's all for now! Can't wait to update you with more 2nd floor progress in the future!
->>