Friday, September 28, 2012

how to put together stuff from ikea when you're pregnant

Step 1: Don't.

Step 2: If you must do it because you're impatient, step 1 is: take everything out of the box. Everything. There are 1000 moving parts when you're building something from ikea even if the thing only has 3 parts.

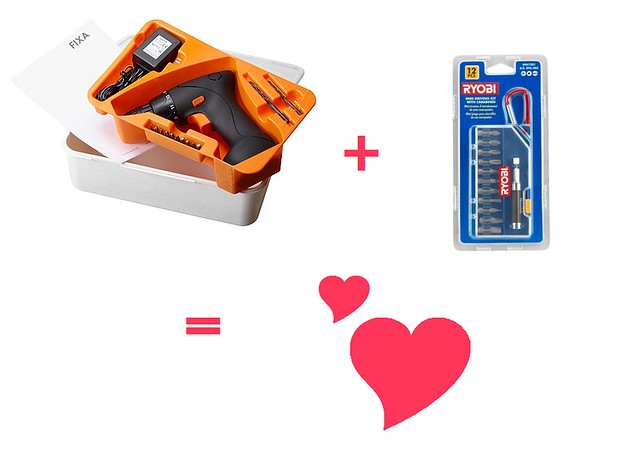
Step 3: and this is serious. That little drill from Ikea, appropriately named the "Fixa," aint half bad. It's the drill bits that suck. Do yourself a favor and get the drill... because it's only $24, but also invest in some manly serious drill bits.
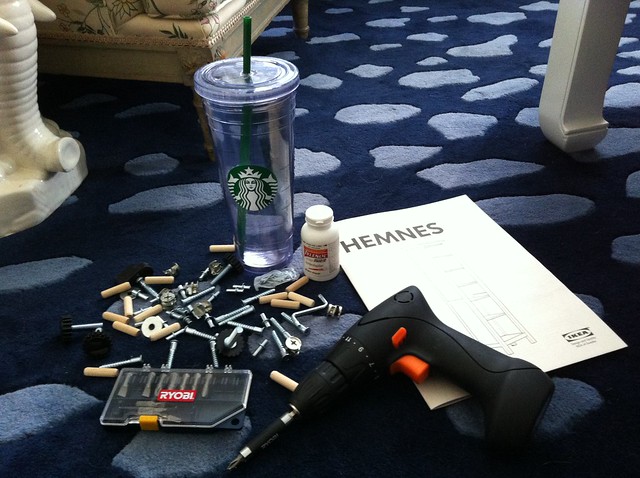
ikearyboi

This was my setup:

  1. water for chuggin. NOTHING is worse than drymouth.
  2. Tylenol. You can't take advil when you're preg, and ikea cardboard smells like weird graham cracker food and was giving me a headache. 
  3. Directions
  4. Fixa/manly bits combo
  5. all pieces laid out in a place where you know you wont step on them. It's much easier than digging through that bag they come in

photo (1)

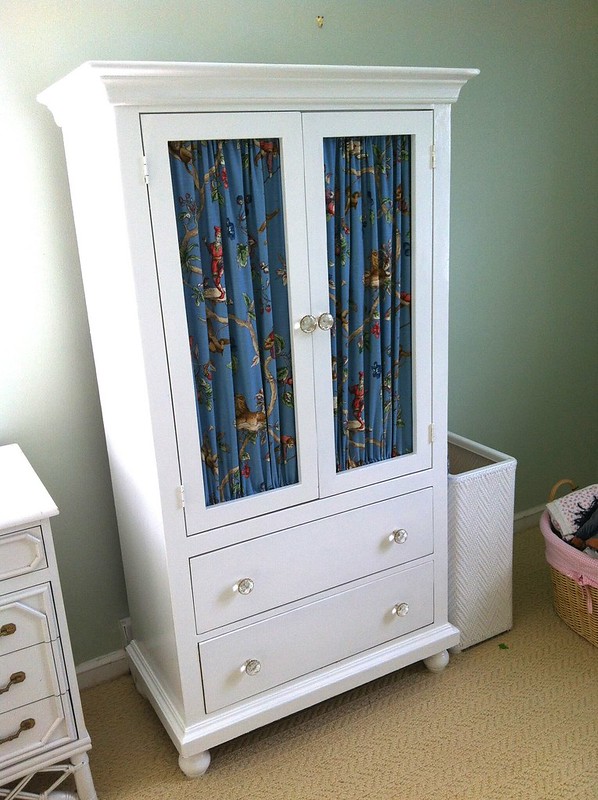
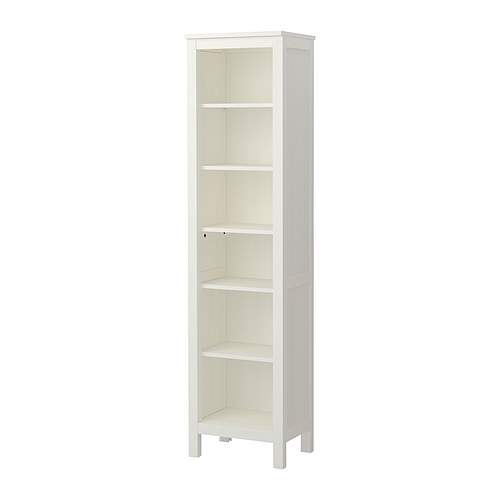
we got two of these to flank the daybed:

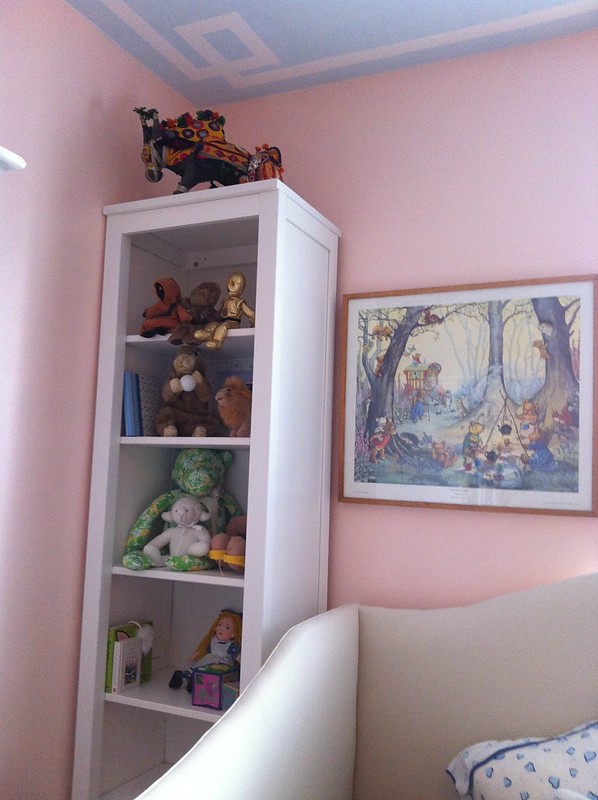
and here they are built in the semi-disastrous mess of a nursery.. but you get the idea
photo (4)

Parenting tip: this bookcase has all the appropriate essentials for child rearing:
antique cloth animals from india, chewbacca, jawas, and c3po, the gopher from caddy shack, a stieff lion, a lilly pulitzer monkey, and Alice from alice in wonderland. At least we know she'll be well rounded.
photo (3)
->>

Monday, September 24, 2012

finished the faux fretwork

after taping off the ceiling and a little paint action.... this is how things turned out:

IMG_0197

this was seriously so easy it wasn't even funny. and the fact that it's totally free hand... took like 45 minutes total. No excuses - go do this!
photo (17)

looking up from below..
photo (16)

now... I hesitated posting the picture below because its so incomplete. But hopefully it'll seem that much more awesome with the:
pelmet box/curtains/bookshelves/mattress/DIY duvet?/more pillows TBD /and dry cleaned giant dog.
So pretty much we're like almost done (not)
photo (18)
->>

Wednesday, September 19, 2012

DIY fretwork on the ceiling

The backstory on this project is that we were thinking about putting moulding up in the nursery. The problem with that is, knowing me it would turn into one of those "if you give a mouse a cookie/moose a muffin" projects. I'd then want moulding in our bedroom, the kitchen, and dentil moulding in the bathrooms.

So we're avoiding that conundrum all together by doing a little ceiling decoration thing, which I hesitate to call "fretwork" cause its really not. Traditionally, fretwork is 3-D decorative carving, and this is not that, at all. But really I don't know what else to call it.

I love little details in a room, especially ones that take you a minute to notice. This will (hopefully) be one of those details. Enter fretwork. Or "faux fretwork" I guess.
photo (14)

photo (15)

I'm doing this freehand, mostly because the less serious it is the more playful I'm hoping it'll come off. Plus, I don't want my baby thinking I'm the measuring type. Cmon. Really though, it's not that hard to make a straight line with tape especially with the wall right there for guidance. It's like driving buzzed. You know you shouldn't but you haven't hit anything yet.

We're painting the ceiling with a light light blue ceiling paint. I had the paint guy tint it 25% of this color I like. You can do this with any color, and it can have a really cool effect depending on the color you choose. You can even tint the paint 50-25% of your wall color and it has this amazingly cozy feel to it. That is, if you don't choose a butt ugly paint color.

Here's some legit fretwork that's pretty awesome:

l_84a8d680-6079-11e1-8f62-7dee8b800004 

ceilinf 

and more faux fretwork on these entry walls:
123075002287072230_puAMBLzR_f (1)
->>

Wednesday, September 12, 2012

monkey fabric project #2


the second thing (check the first thing out here: hamper revamper) we're poppin monkey fabric on be this:

photo11

The above pic is after it was repainted, but before anything else happened. My little sister had this in her bedroom growing up, so it was really fun to be able to re-use it for our little girl.

Originally it had these green gingham panels which needed to hit the road if this was going to be monkied-out.
photo33

I've discovered the easiest way to re-make anything that worked well in the past is copy exactly how someone did it before you. No need to re-invent the wheel here. I laid out the fabric, cut it out, and sewed it back together exactly how Pottery Barn Kids did it years ago.

photo (4)

I am by no means an expert, but when you sew stuff, folding it over and then sewing it looks way better than not. Mom I know I need a manicure.

photo (5)

the finished panel popped into place on the dowels. You can see the beginnings of Yaya's (my mom) clothing collection (mine). And .. oh wait... are those vintage Porthault sheets your seeing in the background? Yes, yes they are.. thanks to my insanely generous stepmom, these sheets will grace the daybed.
photo (6)

The thing needed some new knobs. Loved these acrylic and brass ones - and they're cheap too! 

BAM!
photo (7)

photo (9)

photo (8)

We are so happy with it. Not only how the outside turned out - but we didn't realize how much stuff this thing would hold. With little to no storage in the room it's been a life saver.

Also, these pics are about 2 weeks old, and the room has now been paaaaaaainted pinkpinkpink. Can't wait to show pics!!


->>

Tuesday, September 4, 2012

Monday, September 3, 2012

bumble bee sheets

Molly from LockSicker just bought these sheets from William Sonoma, and I think they're just adorable.

img2b

What a great base to play with. A little addition of these Porthault sheets would be amazing. 
And just the Euro shams.... for the entire sheet set you'll have to sell your arms, legs and first born. 
"D port halt don't come cheap, Billy!" (it's more fun to talk about thousand dollar sheets in a redneck accent)

PAGIABOCAOLPPCIG

annnnnnd two of these boudoir shams. And the elbow pillow. With huge pink fishtail monograms. 
They're surprisingly affordable as well - only $68 at The Pink Monogram.
Le+Scallop+Boudoir+Sham+From+Matouk


ah yes, and check out the LockSicker Blog here: http://www.locksickerblog.com/
->>