Tuesday, August 28, 2012

DIY party bead chandelier

Here's why this whole thing started. I love this chandelier, but it's insanely expensive.
9770 turquoise beaded empire chandelier


A while back I posted about this genius woman who made a chandelier out of party beads. See the post here: di-yoslef beaded chandelier. Cheap, easy, my kind of thing. 

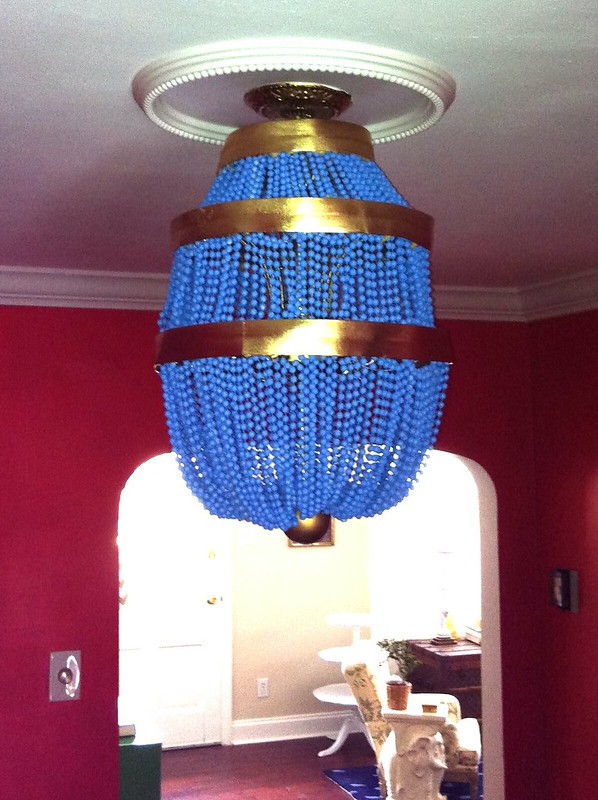
Mine turned out way different, because we actually needed a functioning light, so we used the bones of the original light hanging in the room.
The beauty of this project is that you could really do it with anything... and if you don't have the luxury of already having the awful looking spider thing like we did, you'll need some a dis:

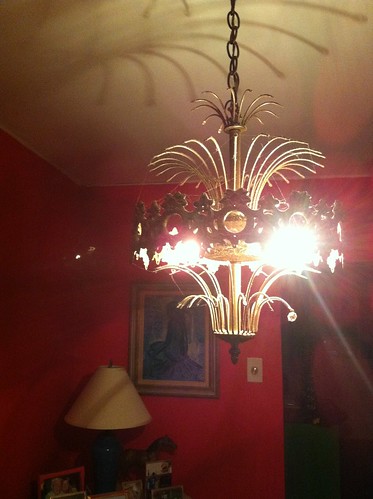
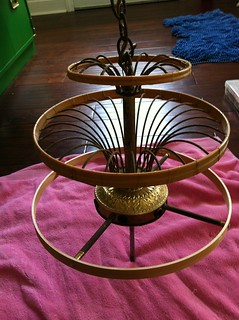
and ahhrgggghh how awful is this? Like a metal spider on acid with delusions of grandeur (check the shadow). Originally it wasn't that ugly. It had all these crystals on it, which I stole and used for the other chandelier I made. Nothing goes to waste here. only problem was for like a year if you looked at it funny it would try to poke your eye out when you walked by. 
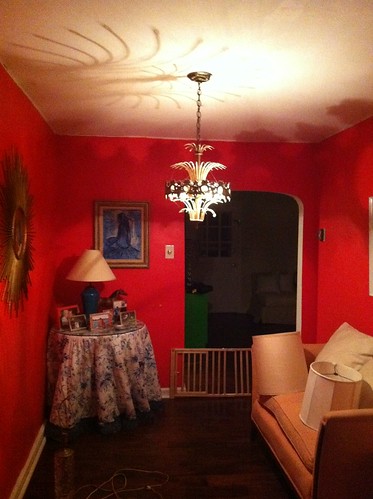
photo (8) photo (9)

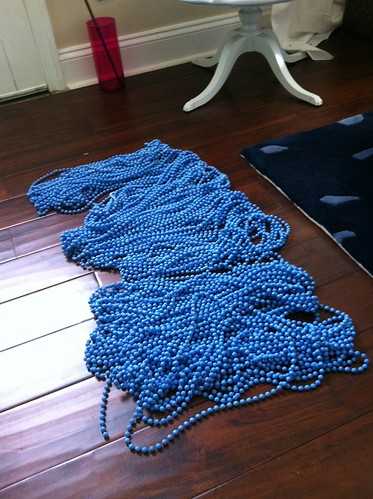
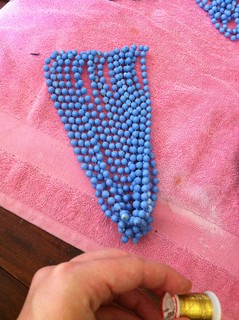
I started by having my husband spray paint the party beads Rustoleum's Spa Blue. I got mine the week after St. Patty's day on sale at Joann Fabrics - I think somewhere around 50 cents for a 3 pack.

pd71 photo (10)

here's the monster in the flesh, helpless and pissed off it had to move after 60 years.
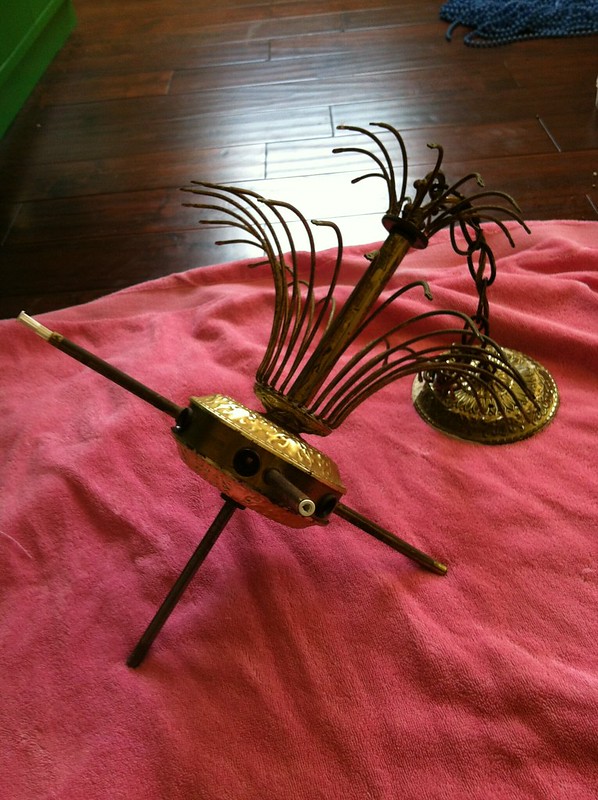
photo (11)

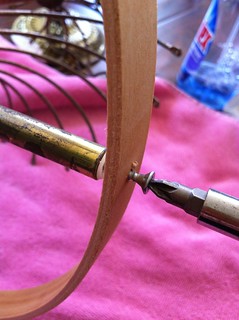
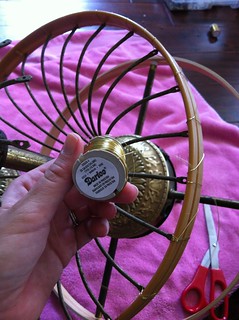
The inside of these quilting hoops (12 inch, 10 inch and 7 inch, all from Joann Fabrics and about $20 total) fit perfectly around the original chandelier, which was weird. The first one was screwed on, the next two I had to attach with wire.
photo (12) photo (13)

photo (14) photo (15)

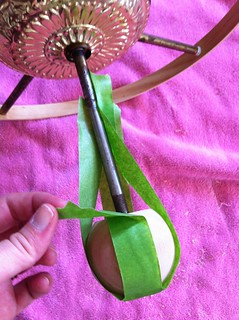
Screwin' balls. The bottom needed some type of anchor, so I got one of those wood craft balls at Joann and put a hole in it, then gorilla glued it onto the base.
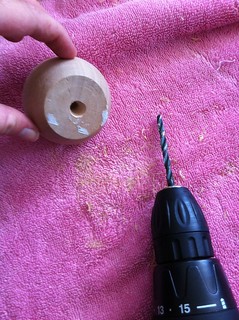
photo (16) photo (17)

Husband doing more spray painting. The man is a saint.
photo (18)

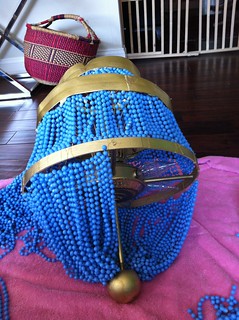
I cut the beads in bundles, and strung them together with the wire at the top and bottom, then attached them to the quilt hoops with gold jewelry wire, so if you see it it's not the end of the world. The bottom row was bundled together so that it would all mush and fit around the ball.
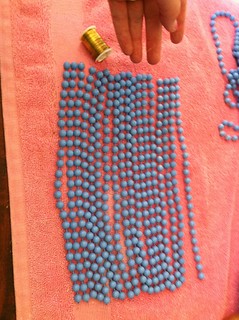
photo (20) photo (21)

stringing the beads on the hoops... I'd like to thank 18 hours of Dawson's Creek for getting me through this.
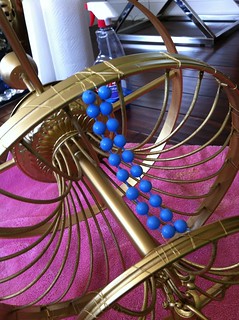
photo (19) photo (22)

finished and hung! photo (12)

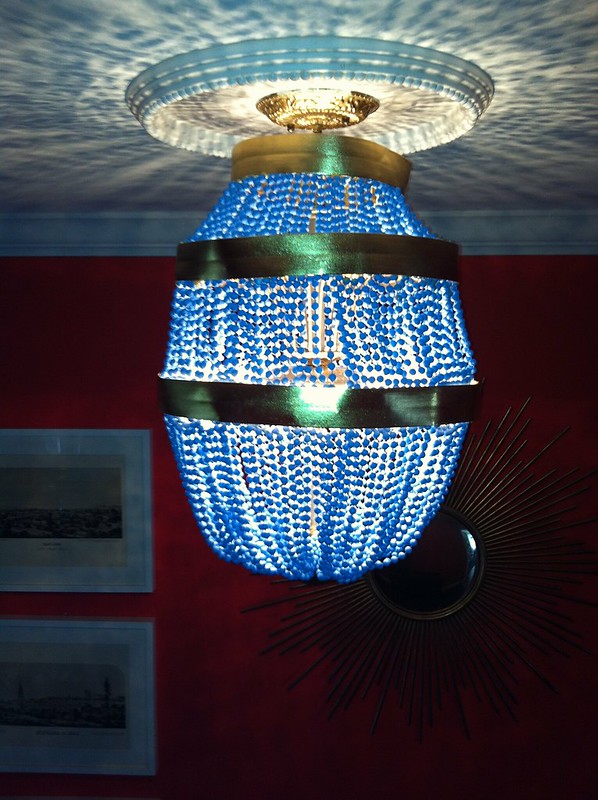
lit up
photo (13)

this was truly a labor of love and I'm so happy with the way it turned out. Just goes to show you can (sometimes successfully) re-use old crap.
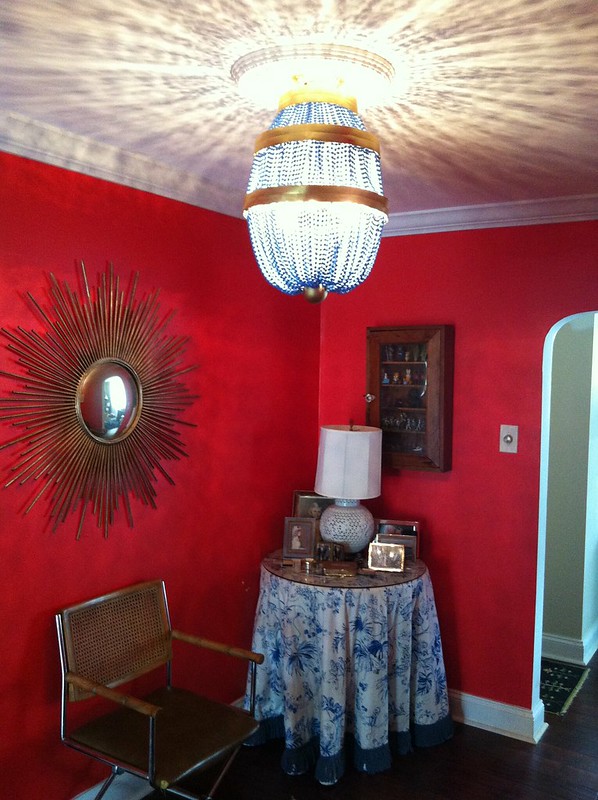
photo (10)

Can't wait until the room is repainted.... It's going to POP once we paint the dining room/hallway thing the living room color (Muslin, by Benjamin Moore - I'm obsessed). POP I tell you.
->>


Friday, August 24, 2012

nursery colors

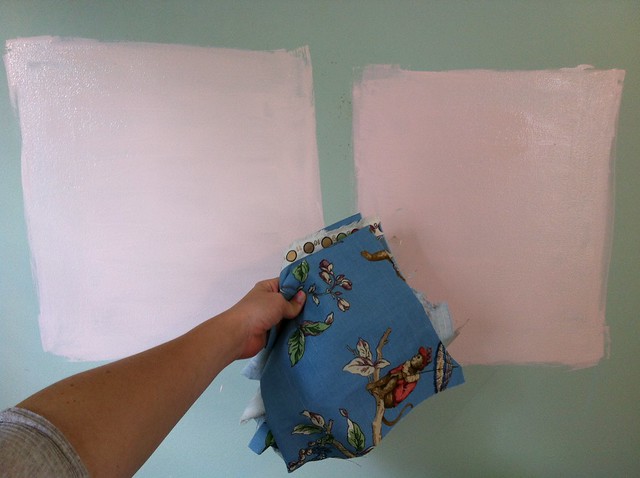
Benjamin Moore's Pink Harmony on the left, and BM's Creamy Peach on the right.

They literally look exactly the same in the paint can and on the swatch... which is why it's important to test ya colors.

photo (1) We're definitely going with Pink Harmony (left). Not too much red undertoneyness, and it's the perfect amount of pink without being overwhelming. I also like the way it plays off the fabric.


Things to consider when picking a paint:

  1. What are you painting over? is it light enough to use the paint and primer in one?... or not. The color we're painting over (Par Four Green by BM) is light enough to use the paint/primer in one... any darker we'd use an additional coat of primer.
  2. What's the texture of the wall? Darker colors will make a bumpy wall look like it has acne.
  3. Same deal with finish. Flat finish will mask bumps, but I'm not a fan of a flat finish. If I could do my whole house in high gloss I would. The thing about gloss is that it'll reflect light way more, so if you get enough light in the room it will end up actually masking imperfections. Buut... if you're in a dark room and do a high gloss it can look messy and not purposeful. Stick with semi-gloss or satin for most rooms and you'll be golden.
  4. Go with your gut: your gut is the best way to test if you're going to want to actually walk into this room every day. If your gut (and your husband) tell you not to paint a room red DON'T DO IT. More on that later. 
->>
Wednesday, August 22, 2012

let's copy stuff on hump day

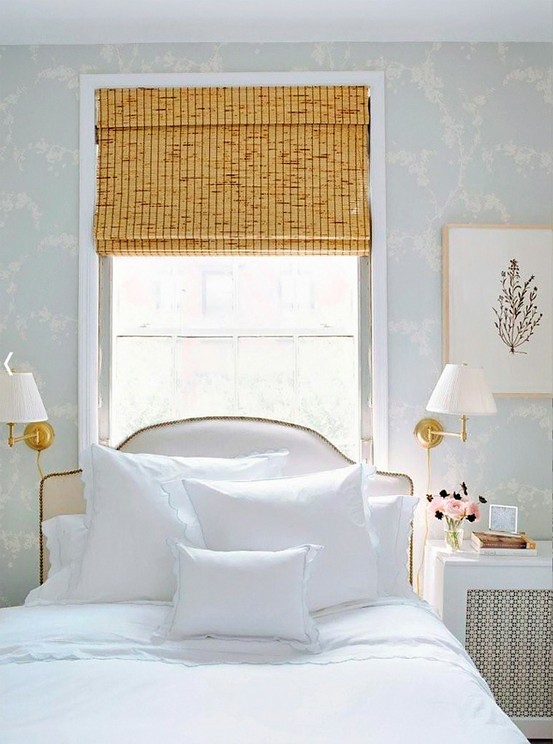
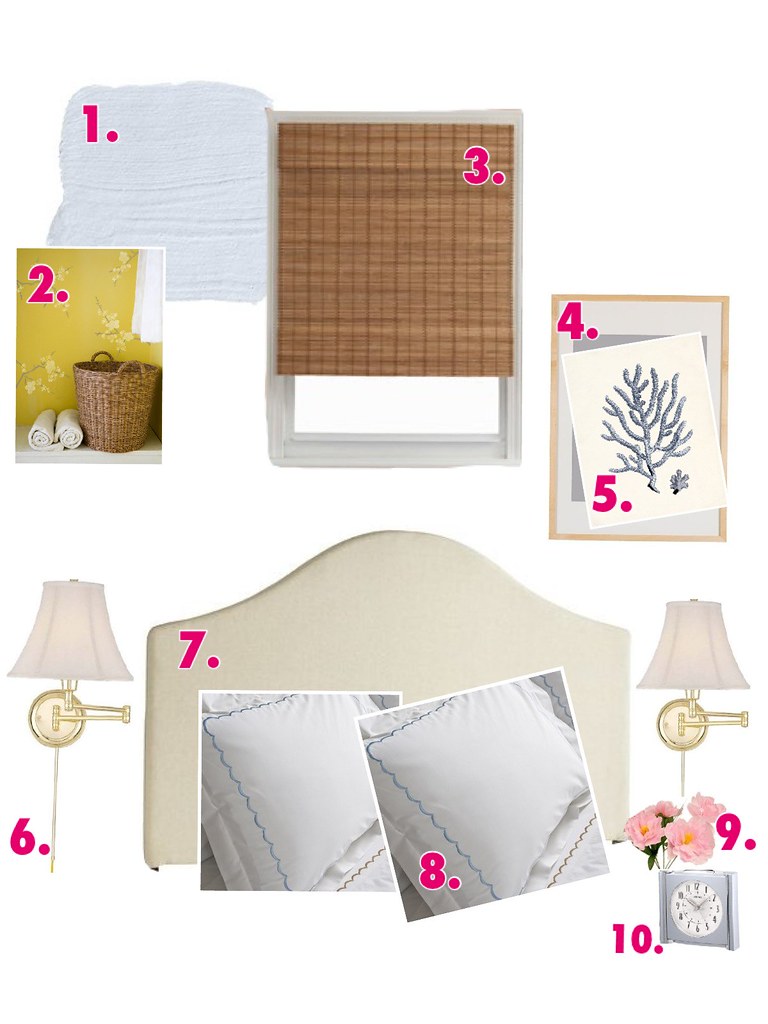
quick cheat sheet on how to copy this lovely Ashley Whittaker bedroom...

253046072783892969_qDVPjGy5_c humpday
1 / 2 / 3 / 4 / 5 / 6 / 7 / 8 / 9 / 10

side note: #2 is a wall stencil, and the etsy seller has lots of fun ones - but the cherry blossom was my fave.
and Ps. if you really want to get crazy, buy these brass nail heads to trim out the headboard. 
->>
Monday, August 20, 2012

joann you are a naughty woman

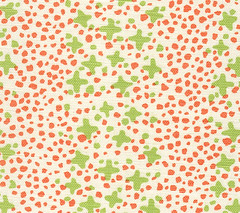
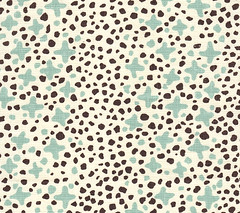
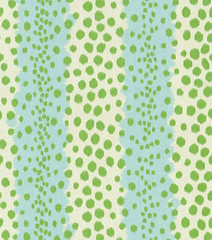
Found this while fabric hunting this morning.
Gorgeous, right?

 Jacks_II_Shrimp_Turquoise_Dots_on_Tint_AC220-02_524x465 Jacks_II_Lime_Green_Orange_Dots_on_Tint_AC220-07LC_524x465 Jacks_II_French_Green_Turquoise_Dots_on_White_AC220-10W_524x465 Jacks_II_French_Green_Brown_Dots_AC220-03_524x465


Joann Fabrics thought so too...

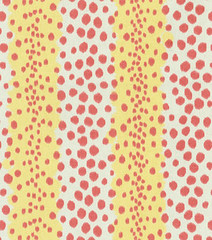
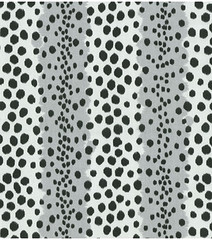
xprd10541175_m xprd10541167_m xprd10541159_m


I mean, Joann makes a point at $40/yard. Quadrille can run upwards of $275/yard.
->>

Sunday, August 19, 2012

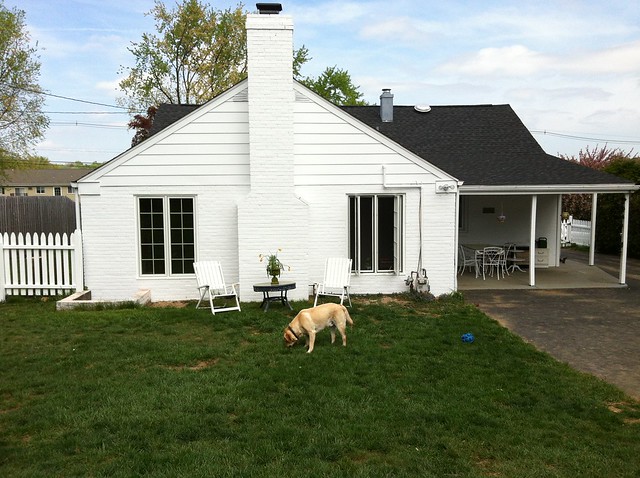
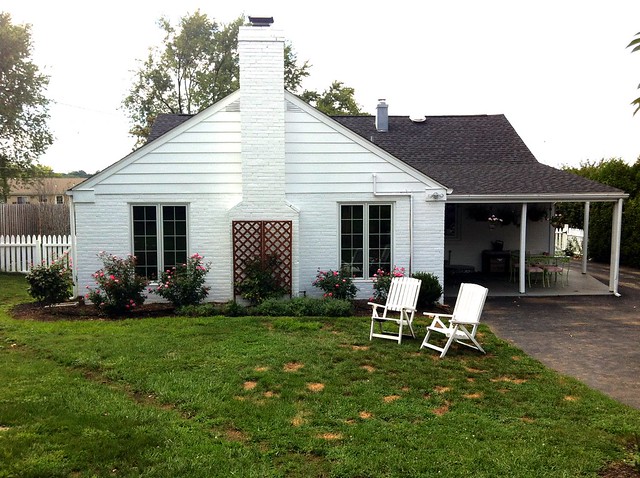
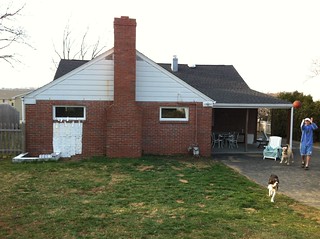
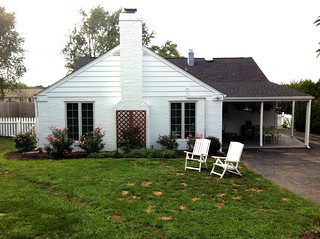
before and after: back of the house

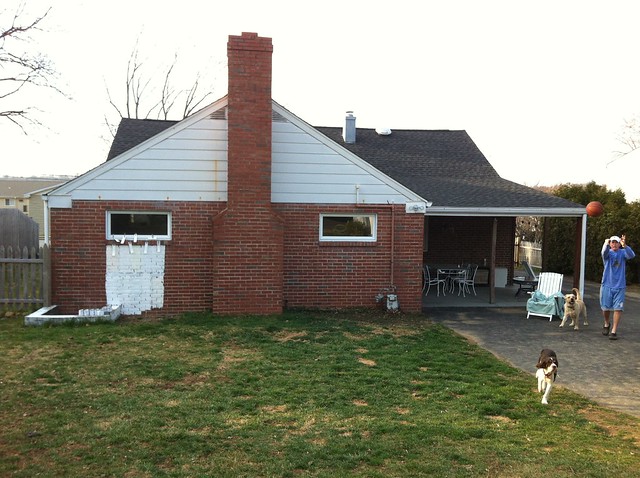
here's a fun little progress report on the back of our house. Those horrible can't see ish through them ski lodge windows had to go. We decided on these huge, pretty Pella windows that open like french doors, AND we decided to paint the house. in the same week.. weeeeeeeeeeeeeeeeee

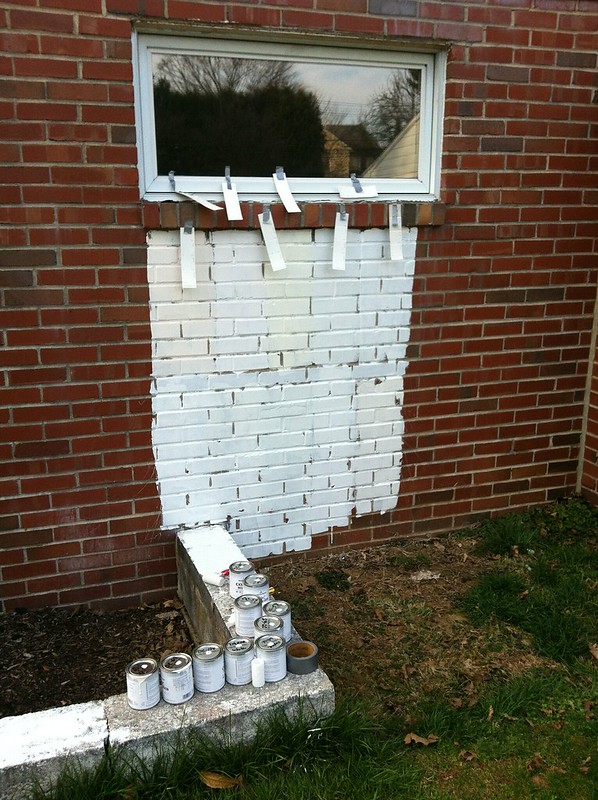
I was testing paint colors under that left window. We chose Benjamin Moore's decorator's white for the outside of the house, and super white for the trim and fence. Having a color blind husband helps... he didn't have much to say about it.

photo (26)

the colors up close. Decorator's white is second from the right on the top row, and super white is directly below it. It's funny how yellow certain whites can end up looking in daylight.
photo (27)

Busted through the ski lodge windows
photo (25)

windows in... this made such a huge difference inside, and completely changed the color of our living room (for the better) because of all the light.
photo (24)

here's the house/fence painted
photo (23)

house/fence painted, fence moved back, and a lil landscaping
photo (28)

there you have it

and here you have it again, just in case you missed it the first time. We're happy..photo (26) photo (28)
->>

Friday, August 17, 2012

you need to buy these local craigslist finds so I stop staring at them.

give these puppies a good home:


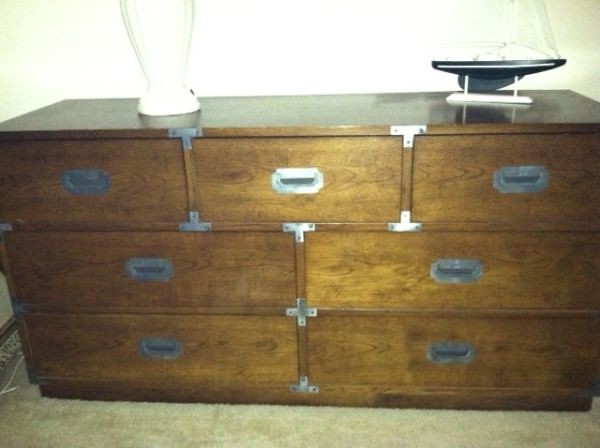
paint this hot pink if yo crazy
or benjamin moore's Muslin, which will look amazing with silver hardware
5E75H75S63Ke3I13Fac87732aa473c19a1103 
campaign dresser

wash the bojangles out of this at the dry cleaners and plop in in a long hallway
5Lf5Jd5Mf3M83Jf3Nbc7re024991cff8d1b85
moroccan rug

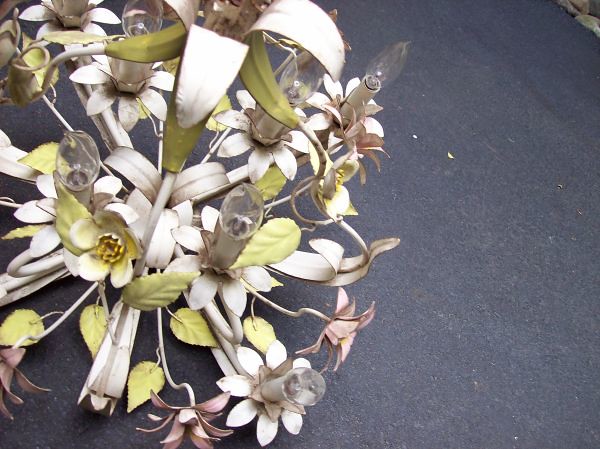
tape off the electrical parts and spray paint this white. add a gold chain and hang it in your kitchen over the table or use it to replace your boring over the sink high hat. instant i'm cooler than you factor.
5Nb5E55Hb3Gf3Ff3Jcc892ec1e4a30bbb1591
tole chandelier

If you do buy them send me some after pictures!
->>

Tuesday, August 14, 2012

$82 fireplace makeover? Um yeah

I read this forever ago when we first moved in to this house, during which I had one of those "light at the end of the tunnel" moments... of course we've lived here now for what, over 2 years? and we haven't touched our fireplace.

This is a great DIY on cheaply updating a horrible brick fireplace that rivals the horribleness of ours from The Lettered Cottage way back in 2009.

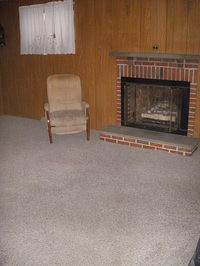
This is the reason we needed some inspiration at the time:
5845283378_f58d3c5837

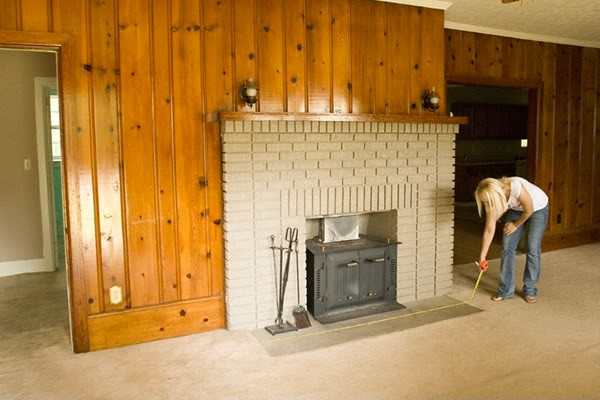
Which looks a lot like what Layla started with...Updating_A_Fireplace

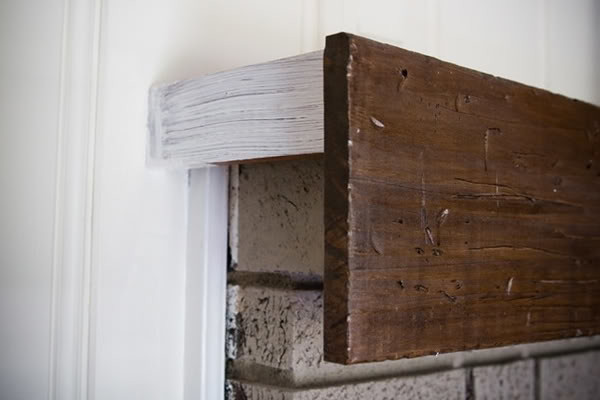
she added a new mantle thing: Updating_A_Fireplace_2

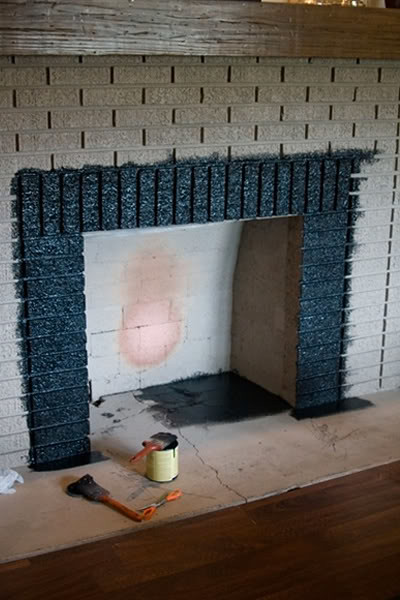
added some paint:
Updating_A_Fireplace_6

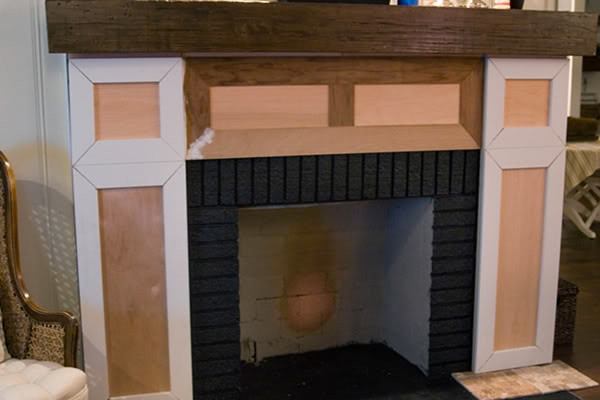
then some pieces of wood with wood glue: Updating_A_Fireplace_7

more wood/wood glue: Updating_A_Fireplace_8

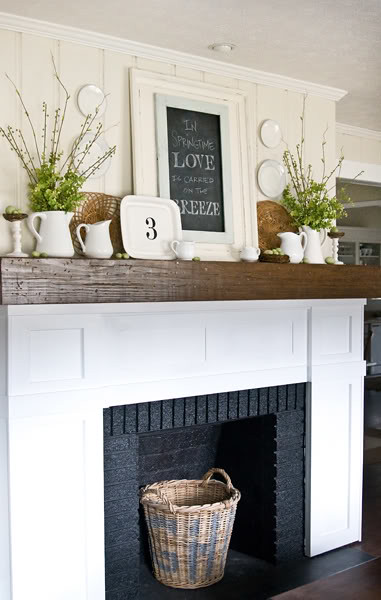
then she painted it white:
IMG_7856_1-1


I seriously think this is one of the more amazing looking fireplace makeovers, not only cause it's cheap, but it's pretty, it's simple, and it took her an afternoon.

You can read the whole post here: My $82 Fireplace Makeover
->>

Sunday, August 12, 2012

just call me the hamper revamper

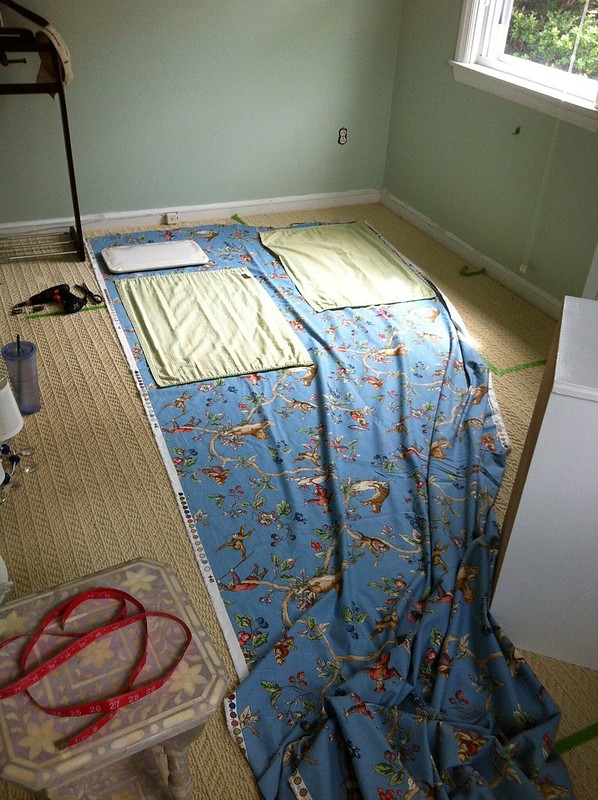
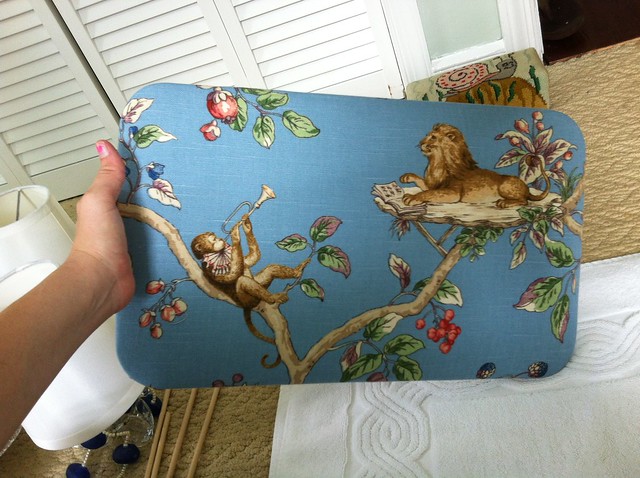
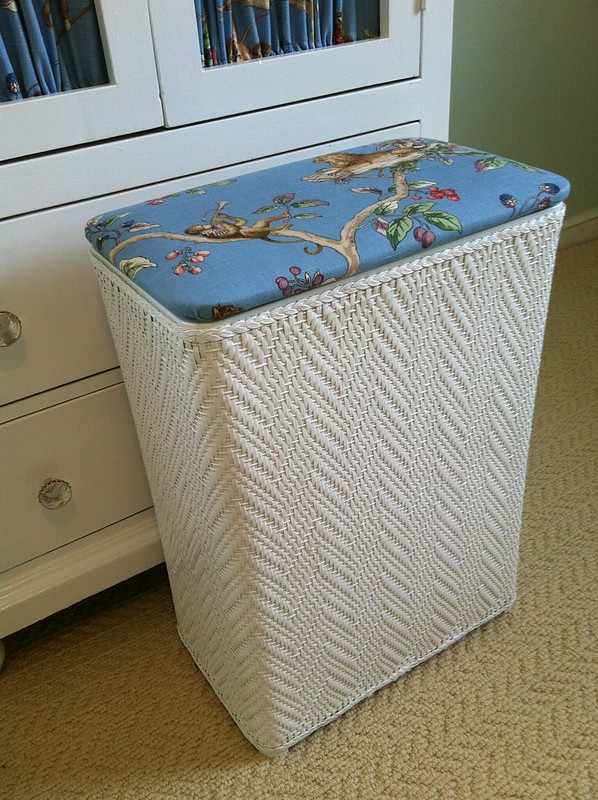
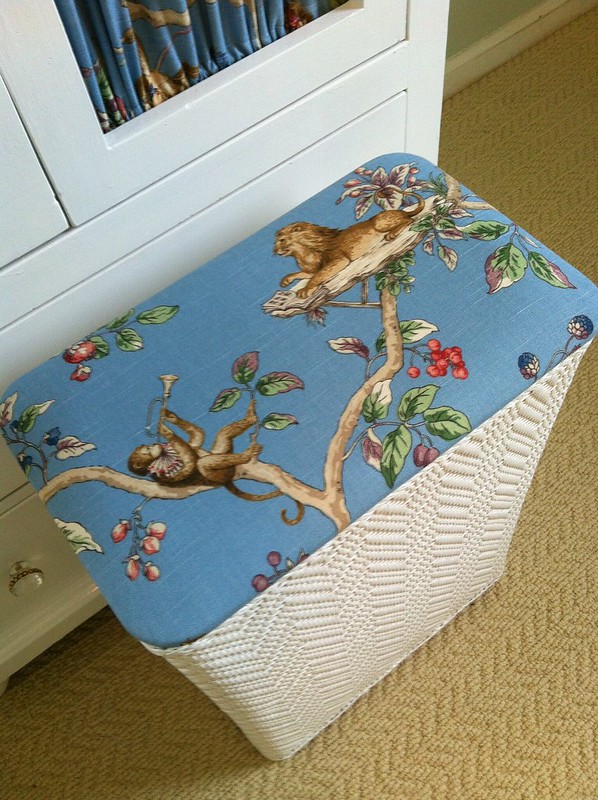
so this is the monkey fabric I was talking about. I found it at the thrift store still on the bolt for $30. There's almost 8 yards, so enough to put some on the top of a hamper, re-do the curtain panels in the armoire, and make curtains for each window with literally 4 inches to spare. it certainly fell into place nicely.
photo (2)

below is what I started with. Needed a new coat of paint and some repairs at the bottom. You could do this to any old hamper..
and if you have one laying around and you're bored enough, here's what you'll need:
1. screwdriver (to take off the lid)
2. gorilla glue - maybe
3. spray paint. I used Rustoleum white gloss
4. Fabric
5. staple gun
photo

I glued the bottom with gorilla glue, then after taking off the lid, had my husband spray paint it white
photo (3)

After removing the lid, you'll want to cut the fabric with about 2 inches to spare. If it's a print, make sure you're looking at something interesting before you make the mistake of stapling with halves of monkeys on each side and nothing in the middle (been there botched that). Ironing the fabric before you put it on... also a good idea.
photo (5) el fin.

Now just re-attach it to the hamper base.
photo (6)

done, and you can barely tell the bottom has been fixed in this pic but swear it has been.
photo (7)

there's really not much to this project. It'll take you about an hour. Good luck in your hamper endeavors.
->>