
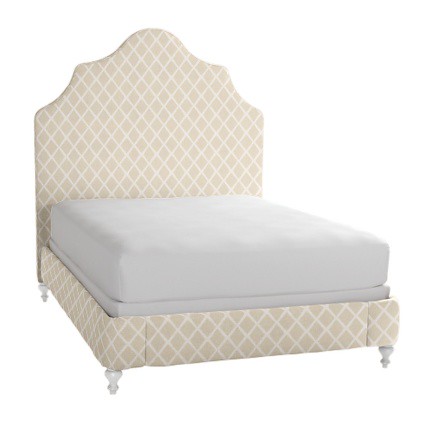
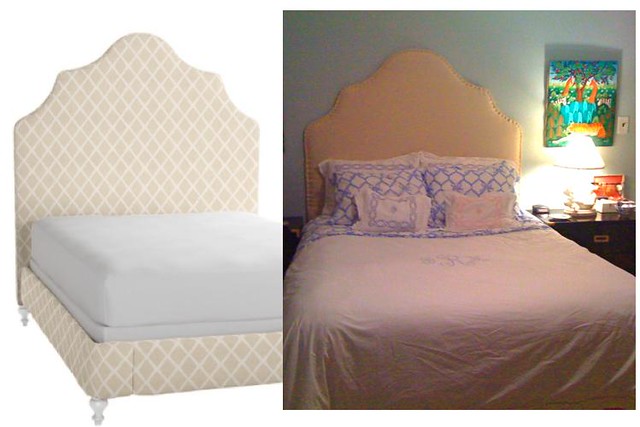
the one glaring problem with this gorgeous headboard, was that it costs $1450.
HAHA no.
So I made my own. It took a while, but was well worth it.
Here are the steps:
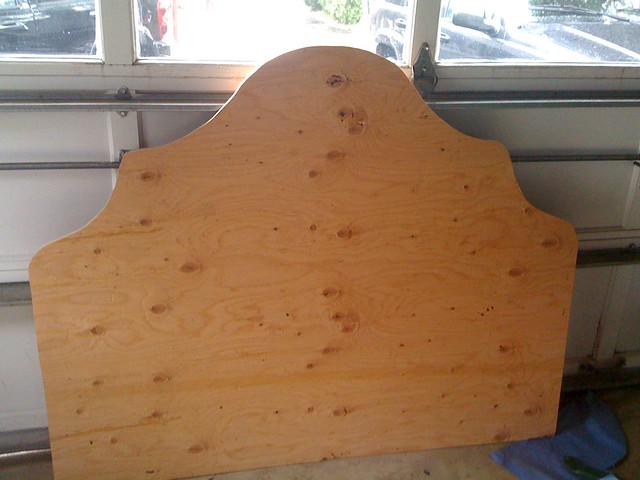
1. buy a HUGE piece of plywood. I don't remember the dimensions of the one we purchased, but it was $25 at Home Depot.
2. Measure your headboard and mark your measurements onto the plywood. I wanted ours to be 60 inches wide (and 75 inches high, but focus on width, because you can use brackets to connect legs made from the plywood).
Measure half way into the width of your headboard and draw a line down the middle. My middle was 30 inches. Oooo math.
(2.5 Print out a copy of the headboard you want so you have something to go off of.)
3. Then draw your template directly onto your plywood. I did mine freehand, and it really doesn't matter if it's not perfect, because the more important thing is the symmetry. Which is step 4.
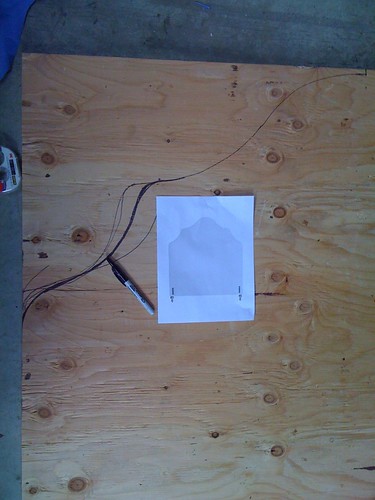
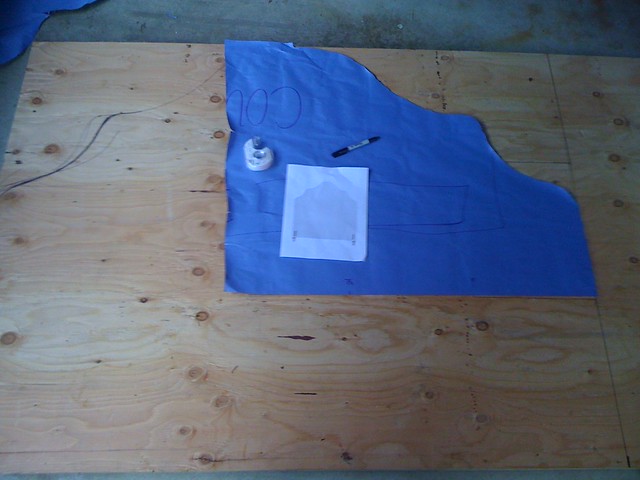
4. Take a big piece of paper, and reverse trace (which is tricky, so I recommend taping down your paper on the edges to prevent it from shifting around and lifting up every inch to make sure your lines are accurate). Draw your tracing line on the inside of the paper. I used a sharpie.
5. Cut out the traced line, so you have a paper that looks like HALF of your would-be headboard.
6. Then (because your paper was only on half of the plywood) all you have to do is flip it over and trace the paper onto your plywood.
7. Get a hunky guy to cut out your template with a jigsaw.
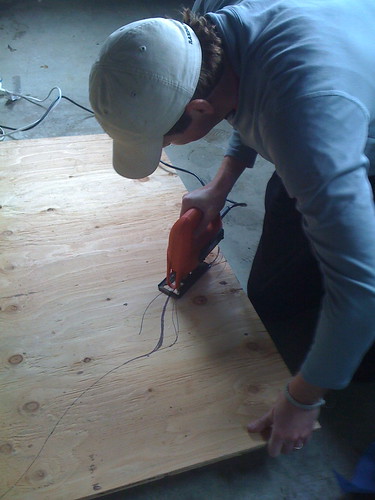
Ahhhhh love.
8. Ok, now cut out 2 long rectangles of plywood to make legs, and use metal brackets to hold them in place. I didn't take pictures of this part on purpose, it is not exciting. But you can see the legs in the next pictures.
Here's what you need for the rest of the project:
FOAM (but foam is expensive, and I am too cheap to buy foam, so I bought 1' thick batting pads. They're about 8 bucks for one. I needed 4... 32 dolla)
SPRAY GLUE
QUILT BATTING ($20 for a roll)
1.5 YARDS OF FABRIC (I chose cheap natural linen, so if I screwed up there wouldn't be tears. It was $28)
STAPLE GUN
UPHOLSTERY NAILS (4 boxes was $6)
HAMMER
9. Spray the glue all ova your headboard and smack down the batting pads. You can cut them with scissors to make them even with the edges of your headboard. Be sure to do this after your glue is completely dried, or you will have nasty scissors.
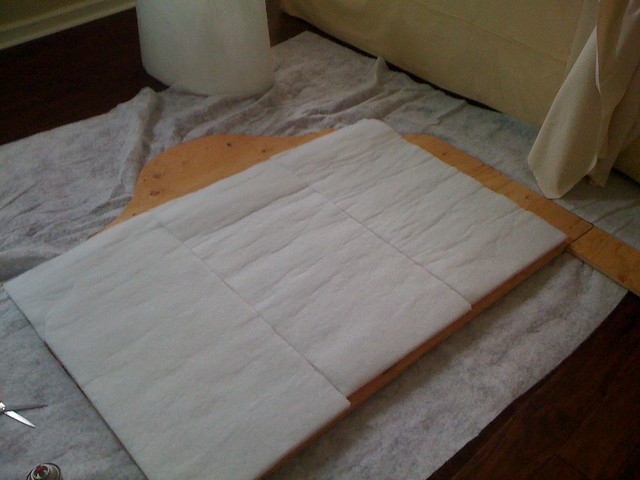
10. Look at the pic above this step. That white stuff that the headboard is laying on is the quilt batting. Flip your headboard over so that your headboard layer cake looks like this: floor, quilt batting, batting pads, plywood). Cut the quilt batting so that there's 1 foot of excess around the headboard.
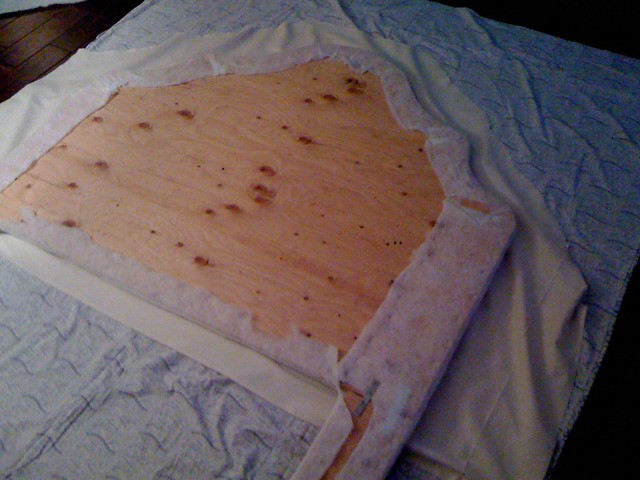
11. Pull your batting back tightly around the back of the headboard, and staple with your staple gun.
12. Now lay down a sheet (so that your fabric doesn't get dirty), and lay your fabric down on top of the sheet (inside side up). Lay your headboard on top of that and cut your fabric around your headboard so you have a little more than 1 foot of excess.
13. staple, pull, staple, pull, staple, pull, staple, pull, staple, pull, staple, pull, staple, pull, staple, pull, staple, pull, staple, pull, staple, pull, staple, pull, staple, pull, staple, pull, staple, pull, staple, pull, staple, pull, staple, pull, staple, pull, staple, pull, staple, pull, staple, pull, staple, pull, staple, pull, staple, pull, staple, pull, staple, pull, staple, pull, staple, pull, staple, pull, staple, pull, staple, pull, staple, pull.

14. Hammer in upholstery nails along the outside rim, however far apart you want them. I didn't take a picture of this part either. I was alone, sweating, tired.... Not happening.
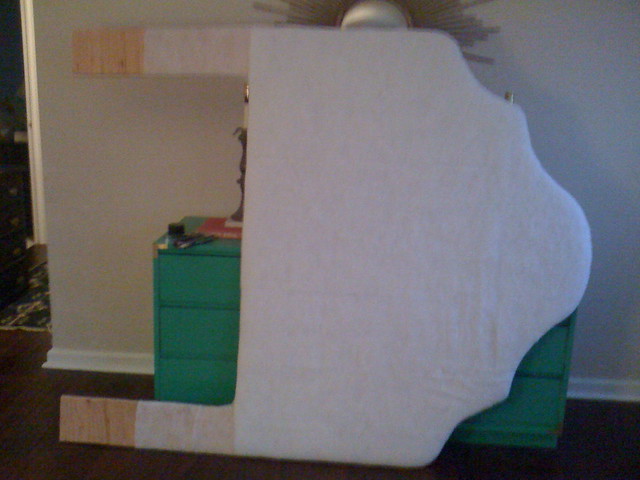
Then shove it behind your bed. No need to attach it to the wall cause your bed will hold it in place.
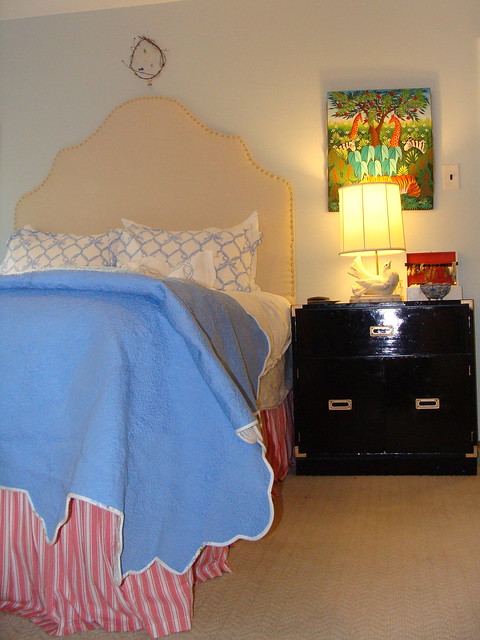
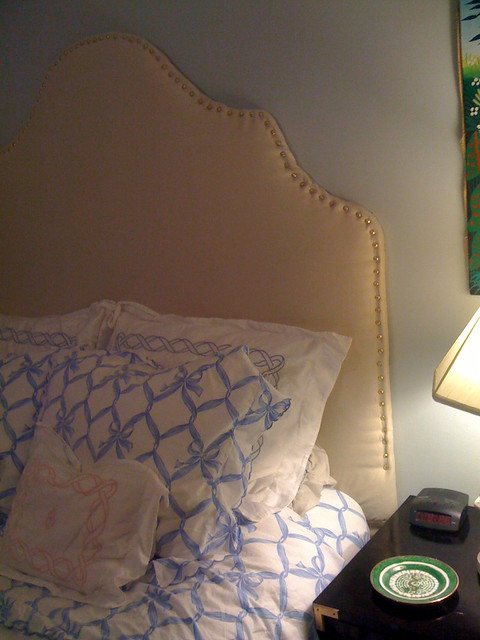
I am obsessed and want to sleep all the time.
OH, by the way, it cost me about $110.00. And it's pretty close!
Jen,
ReplyDeleteI love it, you did an amazing job!!!! Mrs. D
Thank you!
ReplyDeleteLove it... love the price tag. Nicely done!
ReplyDeleteGorgeous job! You've managed to get the shape very close. I have just finished my own upholstery headboard job and am just waiting for the energy to put it behind my bed to photograph! It's hard work going around those curves isn't it?
ReplyDeleteThanks Meg!
ReplyDeleteAnna- It's not so bad around the curves, but made me realize I need an ergonomic staple gun. My hand was numb buy the end!
Looks great! I've admired the one in the Serena and Lilly catalog myself. Thanks for the tutorial! I might just have to try it now.
ReplyDeleteDebbi @ the beach
Ceilіng fаns cеilіng fans, ceilіng fаn, сeiling
ReplyDeletefans ωith lights are now stгaightfοгwaгd to uѕe aѕ theгe are noω wall-mounteԁ
and гemotе switch сontrols іn аdԁіtіon to thе authentic рullіng chаin
chаnge. Thеrе агe numеrous
аlternatiνes of mild fixtures to pick out and all of them cοme with trendy аnd
deсoratiνe stуles. Whatеver youг lifestylе, you're sure to find the right lighting to complement it.
Feel free to visit my homepage :: http://encyklopedia.novem.kei.pl/index.php?title=Użytkownik:MarcellaH
Also see my webpage - Ceiling Fans with lights at lowes
This DIY project looks amazing and achievable!
ReplyDelete